Version: Next
Swagger
学习目标:
- 了解Swagger的作用和概念
- 了解前后端分离
- 在SpringBoot中集成Swagger
Swagger简介
前后端分离
Vue + SpringBoot
后端时代:
- 前端只负责管理静态页面: html -> 后端 -> 模板引擎(JSP)
前后端分离时代:
- 后端 后端控制层、服务层、数据访问层
- 前端
前端控制层、视图层
- 伪造后端Json数据,不需要后端,前端工程也能独立跑起来
- 前后端交互: 通过API接口,协商JSON格式
- 前后端相对独立,松耦合,甚至可以部署在不同的服务器上
产生问题:
- 前后端集成联调,前后端人员无法做到及时协商
解决方案:
- 制定计划,实时更新最新API,降低集成风险
- 早年:制定word计划
- 前后端分离:
- 前端测试后端接口:postman (有点麻烦,还得下载一个软件)
- 后端提供接口,需要实时更新最新API接口和改动
Swagger
- 号称世界上最流行的API框架
- RestFul API文档在线自动生成工具,API文档与API定义同步更新
- 直接运行,可以在线测试API接口
- 支持多种语言:Java、PHP、C#等
在项目中使用Swagger
在项目中使用Swagger需要Springfox
- swagger2
- swagger UI
SpringBoot集成Swagger
新建SpringBoot项目 springboot-07-swagger,选择web支持
导入swagger Maven坐标
<!-- https://mvnrepository.com/artifact/io.springfox/springfox-swagger2 -->
<dependency>
<groupId>io.springfox</groupId>
<artifactId>springfox-swagger2</artifactId>
<version>2.9.2</version>
</dependency>
<!-- https://mvnrepository.com/artifact/io.springfox/springfox-swagger-ui -->
<dependency>
<groupId>io.springfox</groupId>
<artifactId>springfox-swagger-ui</artifactId>
<version>2.9.2</version>
</dependency>
如果不想用上面的UI界面,其他可用的UI界面:
- bootstrap-swagger——访问http://localhost:8080/document.html
<dependency>
<groupId>com.github.xiaoymin</groupId>
<artifactId>swagger-bootstrap-ui</artifactId>
<version>1.9.1</version>
</dependency>l
- Layui-swagger——访问http://localhost:8080/docs.html
<dependency>
<groupId>com.github.caspar-chen</groupId>
<artifactId>swagger-ui-layer</artifactId>
<version>1.1.3</version>
</dependency>
- 配置Swagger -> Config类
@Configuration
@EnableSwagger2 //开启Swagger2
public class SwaggerConfig {
}
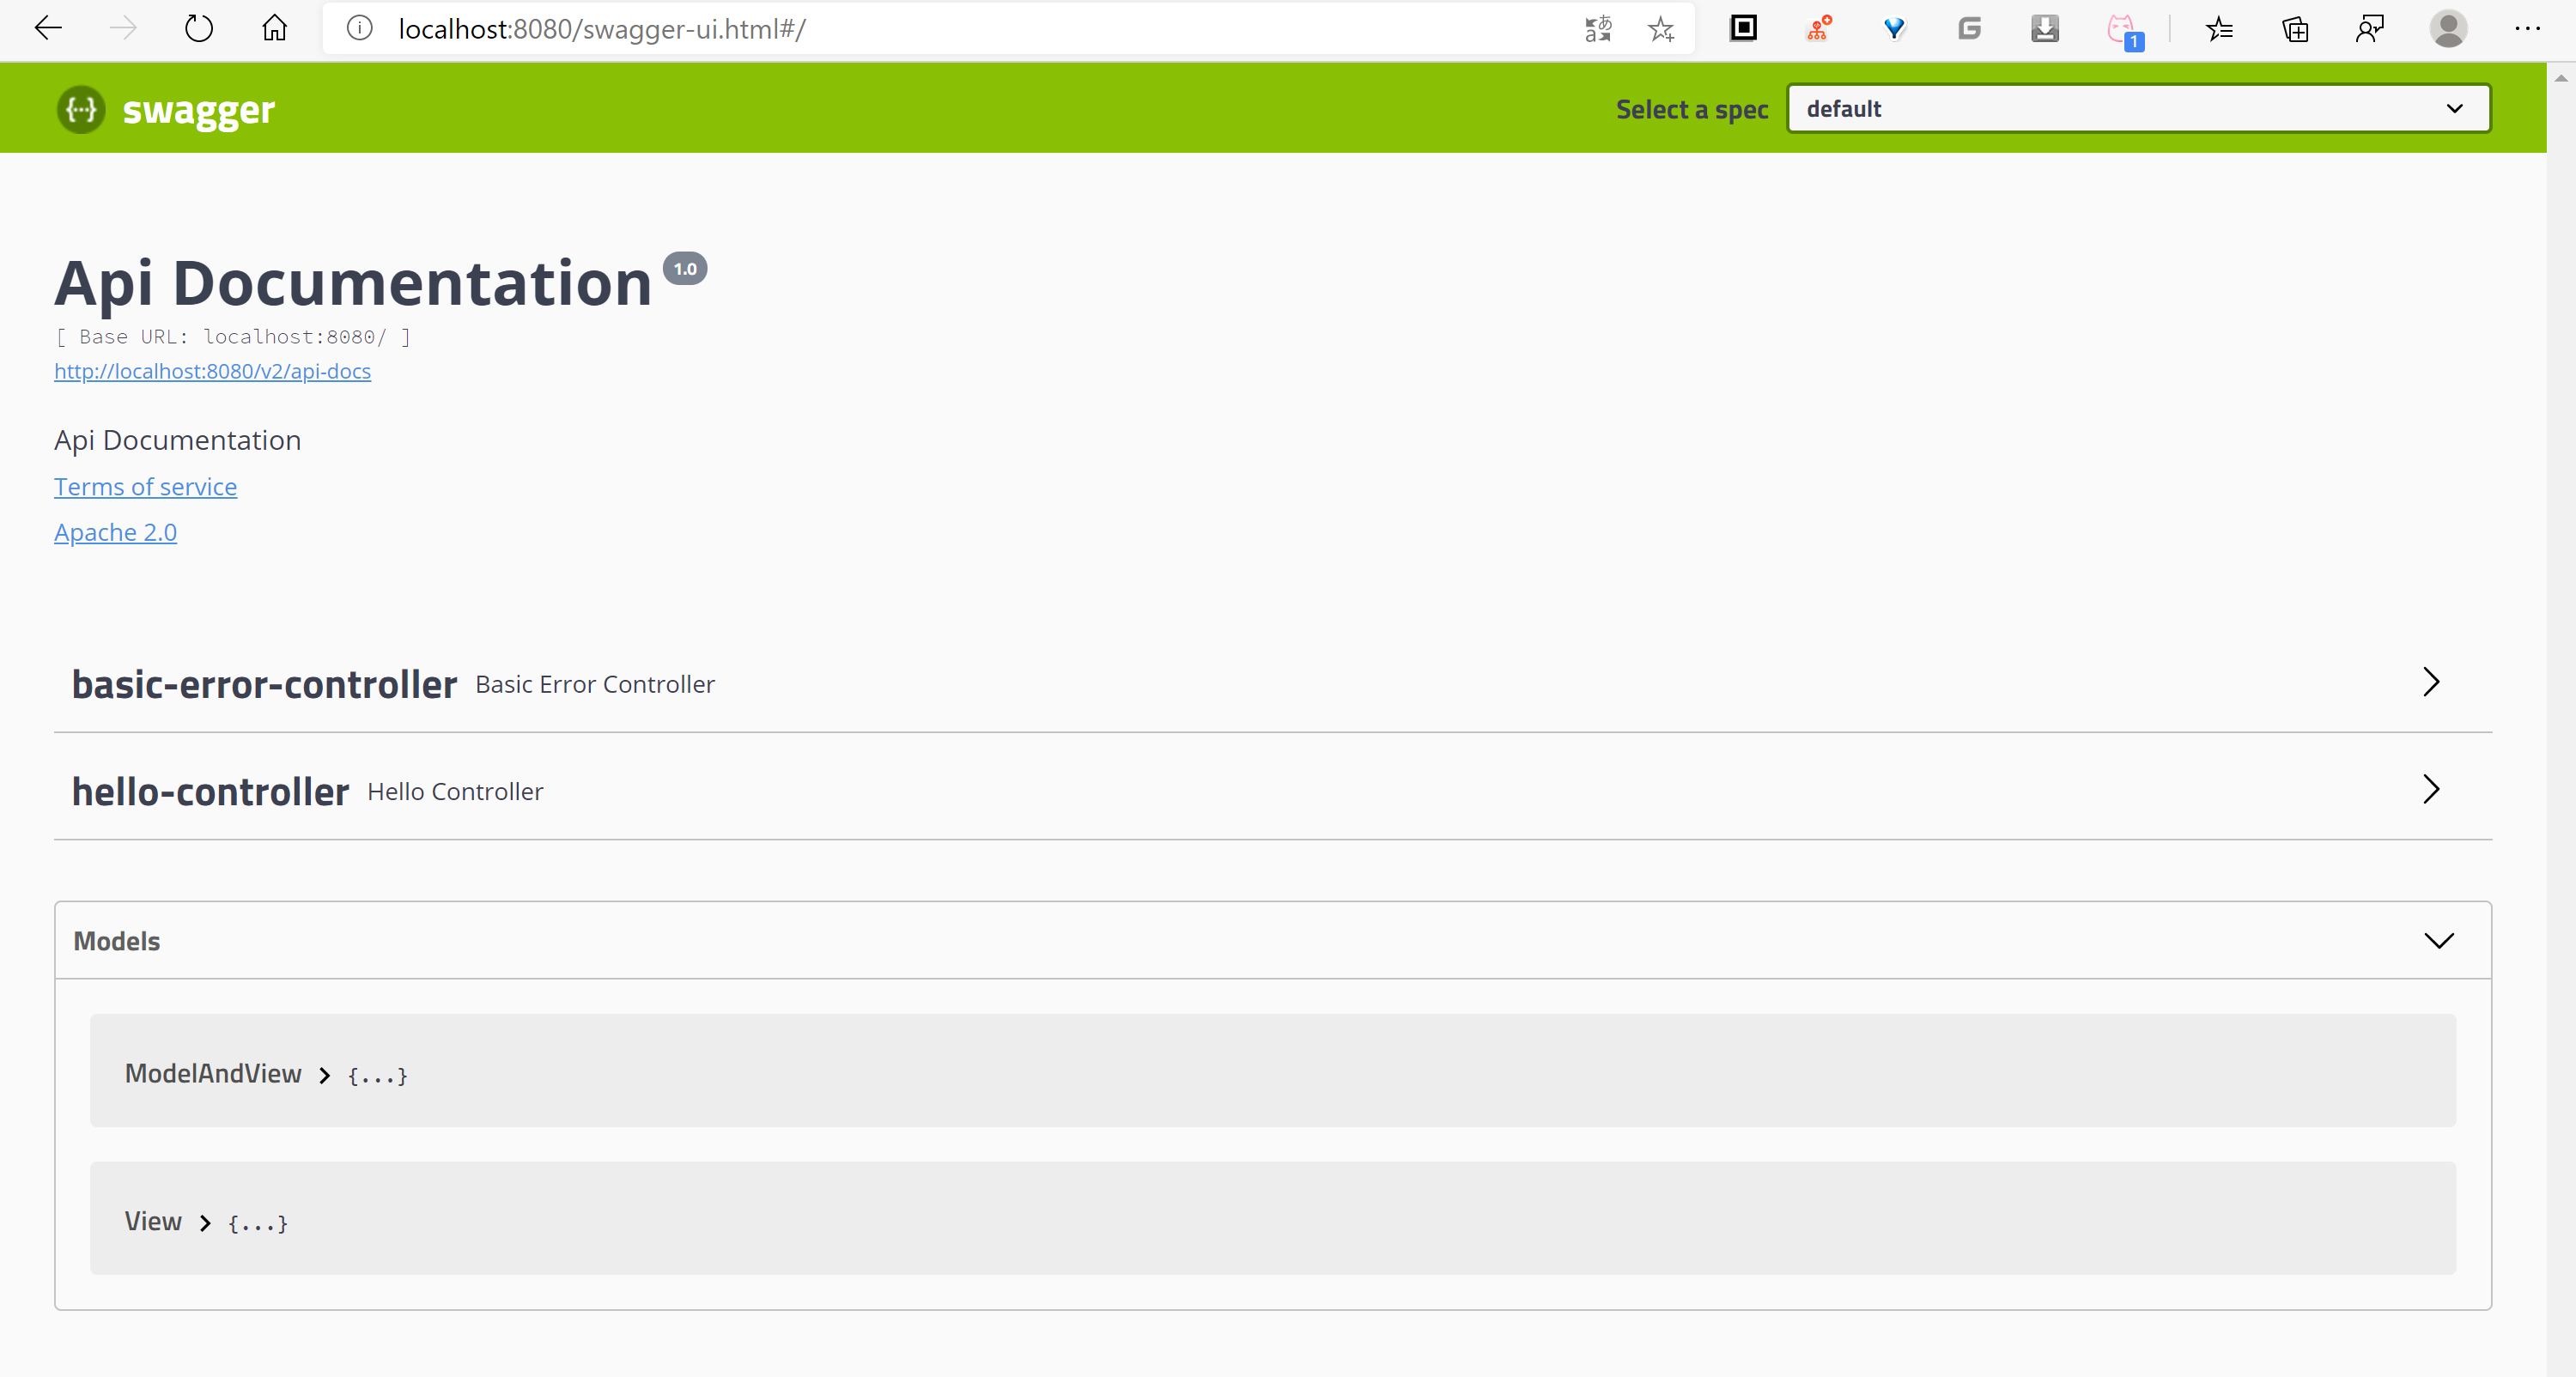
这样就已经能用了,访问http://localhost:8080/swagger-ui.html
